Most companies have strong external security, e.g. blocking all access to production assets using a firewall, and requiring a VPN to get “inside” access to production environments. However, once you are connected to the VPN, the internal systems are usually very poorly protected, and there is little to no authentication and authorization for internal tools and services.
Two common threats to internal security are compromised employee laptops and supply chain attacks. In these scenarios, the attacker operates behind the firewall, often with unrestricted network access.
Services with a web ui can be secured using an application load balancer, e.g. an AWS ALB with OIDC, but how do you protect access to command line interface (CLI) based tools? Requiring a username and password for every CLI invocation makes it painful to use and storing the credentials on the system leaves them wide open in case the computer they reside on is compromised.
The Command Line
Most internal tools have a CLI to manage the services that are used within the company and many are poorly protected. What is the best way to authorize CLIs? And how can you tie authorization into the company’s SSO?
One option is to deploy Hashicorp Vault, but that is a lot of setup and maintenance, so unless you have a team to operate it, Vault might not be a good fit.
Another option is the OAuth2 device authorization grant (RFC8628), which is what this blog post will show you how to use.
The OAuth 2.0 device authorization grant is designed for Internet-connected devices that either lack a browser to perform a user-agent-based authorization or are input constrained to the extent that requiring the user to input text in order to authenticate during the authorization flow is impractical. It enables OAuth clients on such devices (like smart TVs, media consoles, digital picture frames, and printers) to obtain user authorization to access protected resources by using a user agent on a separate device.
If you ever used the AWS CLI with Single SignOn, this is what it does.
OAuth2 Device Flow
The Device Authorization Flow contains two different paths; one occurs on the device requesting authorization (the CLI) and the other occurs in a browser. The browser flow path, wherein a device code is bound to the session in the browser, occurs as a parallel path part in the device flow path.
Implementing the OAuth Device Flow
Now we’ll look at what the above sequence diagram looks like when it is implemented.
The internal CLI tool at Rockset is called rsctl and is written in go. The first step is to initiate the device flow to get a JWT access token.
$ rsctl login
Attempting to automatically open the SSO authorization page in your default browser.
If the browser does not open or you wish to use a different device to authorize this request, open the following URL:

https://rockset.auth0.com/activate?user_code=BBLF-JCWB

Then enter the code:
BBLF-JCWB

Successfully logged in!
If you are using the CLI after logging in to another computer, e.g. ssh:ing to a Linux server, and you use macOS, you can configure iTerm to automatically open the link using a “Run command” trigger.
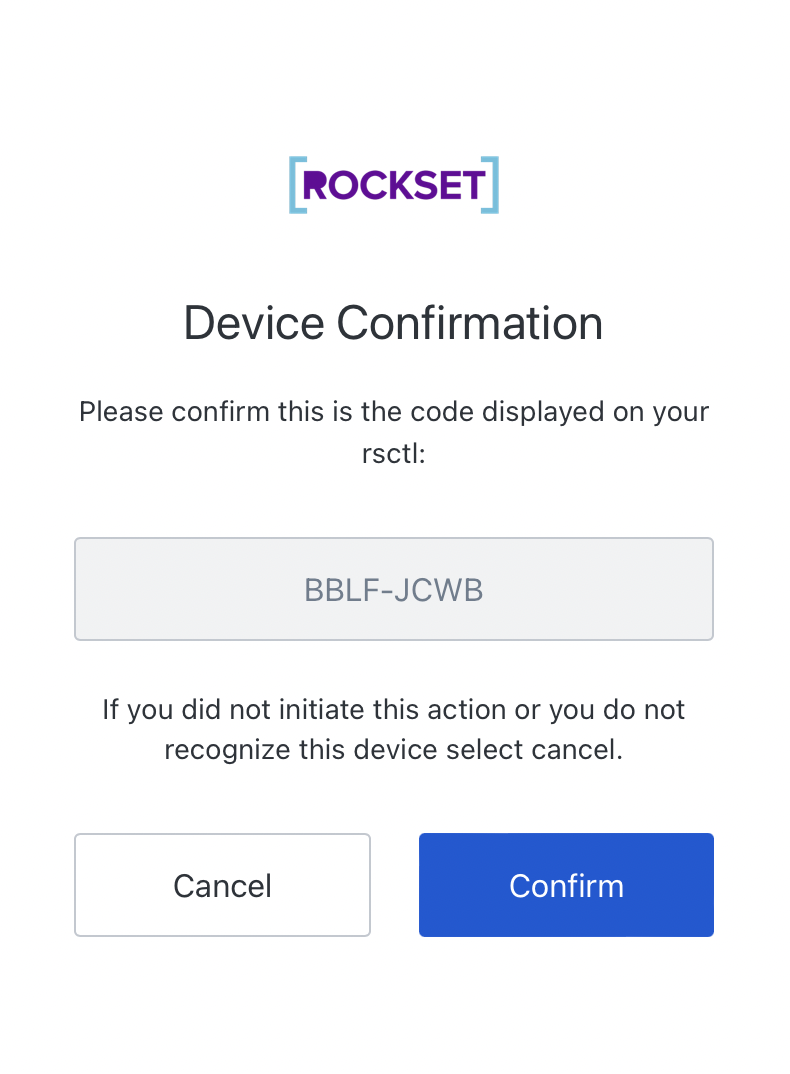
The page that the link takes you to looks like this:

Once you have confirmed that the “user code” is correct (matches with what the CLI shows), and you click “Confirm”, it will take you through the normal OAuth2 login procedure (which in our case requires a username, password and hardware token).
Once the authentication is completed, you will be redirected and presented with a dialog like the one below, and you can close the browser window.

The CLI has now received a jwt access token which is valid for a number of hours and is used to authenticate via internal services. The token can be cached on disk and reused between CLI invocations for the duration of its lifetime.
When you issue a new rsctl command, it will read the cached Access Token from disk, and use it to authenticate with the internal APIs.
Under the Hood
We have implemented and open sourced a go module to perform the device authorization flow (github.com/rockset/device-authorization). It supports both Auth0 and Okta as OAuth providers.
Sample Code
The following code is available in the example directory in the git repository.
Embedded content: https://gist.github.com/pmenglund/5ed2708cdb88b6a6982258aed59a0899
We now have a JWT token, which can be used to authenticate REST calls by setting the Authorization header to Bearer: <jwt access token>
Embedded content: https://gist.github.com/pmenglund/b2ac7bb15ce25755a69573f5a063cb14
It is now up to the receiving end to validate the bearer token, which can be done using an AWS ALB with OIDC authentication or a provider specific API from the API server.
Offline Validation
Another option for access token validation is “offline validation”. In offline validation, the API server gets the public key used to sign the JWT token from the provider (and caches the public key) and performs the validation in the API server, instead of making a validation request to the provider.
Residual Risk
One thing this doesn’t protect against is an attacker with a foothold on the computer that executes the CLI. They can just wait until the user has completed the authentication, and they will then be able to act as the user for the duration of the access token.
To mitigate this risk, you can require a one time password (OTP), e.g. a Yubikey, every time the user performs a privileged action.
$ rsctl delete resource foobar
please enter yubikey OTP: ccccccvfbbcddjtuehgnfrbtublkuufbgeebklrubkhf
resource foobar deleted
Closing Thoughts
In this blog, we have shown how we built and open-sourced a go module to secure the Command Line Interface (CLI) using an OAuth2 device authorization flow that supports both Auth0 and Okta SSO providers. You can add this go module to your internal tools and reduce internal security threats.
